


I’ve found that good lighting along pathways starts with thinking about how people actually move through the space after dark rather than just where the plants sit.
Plantings gain more depth when the lights are angled to catch foliage from below instead of washing everything in a flat glow.
The real test comes when the setup has to work across different times of year as growth changes the lines of the beds.
A few small adjustments often make the biggest difference.
I usually try one or two placements in a test spot first before committing to the whole yard because it shows what actually holds up once the seasons shift.
Low Lights Along A Stone Path
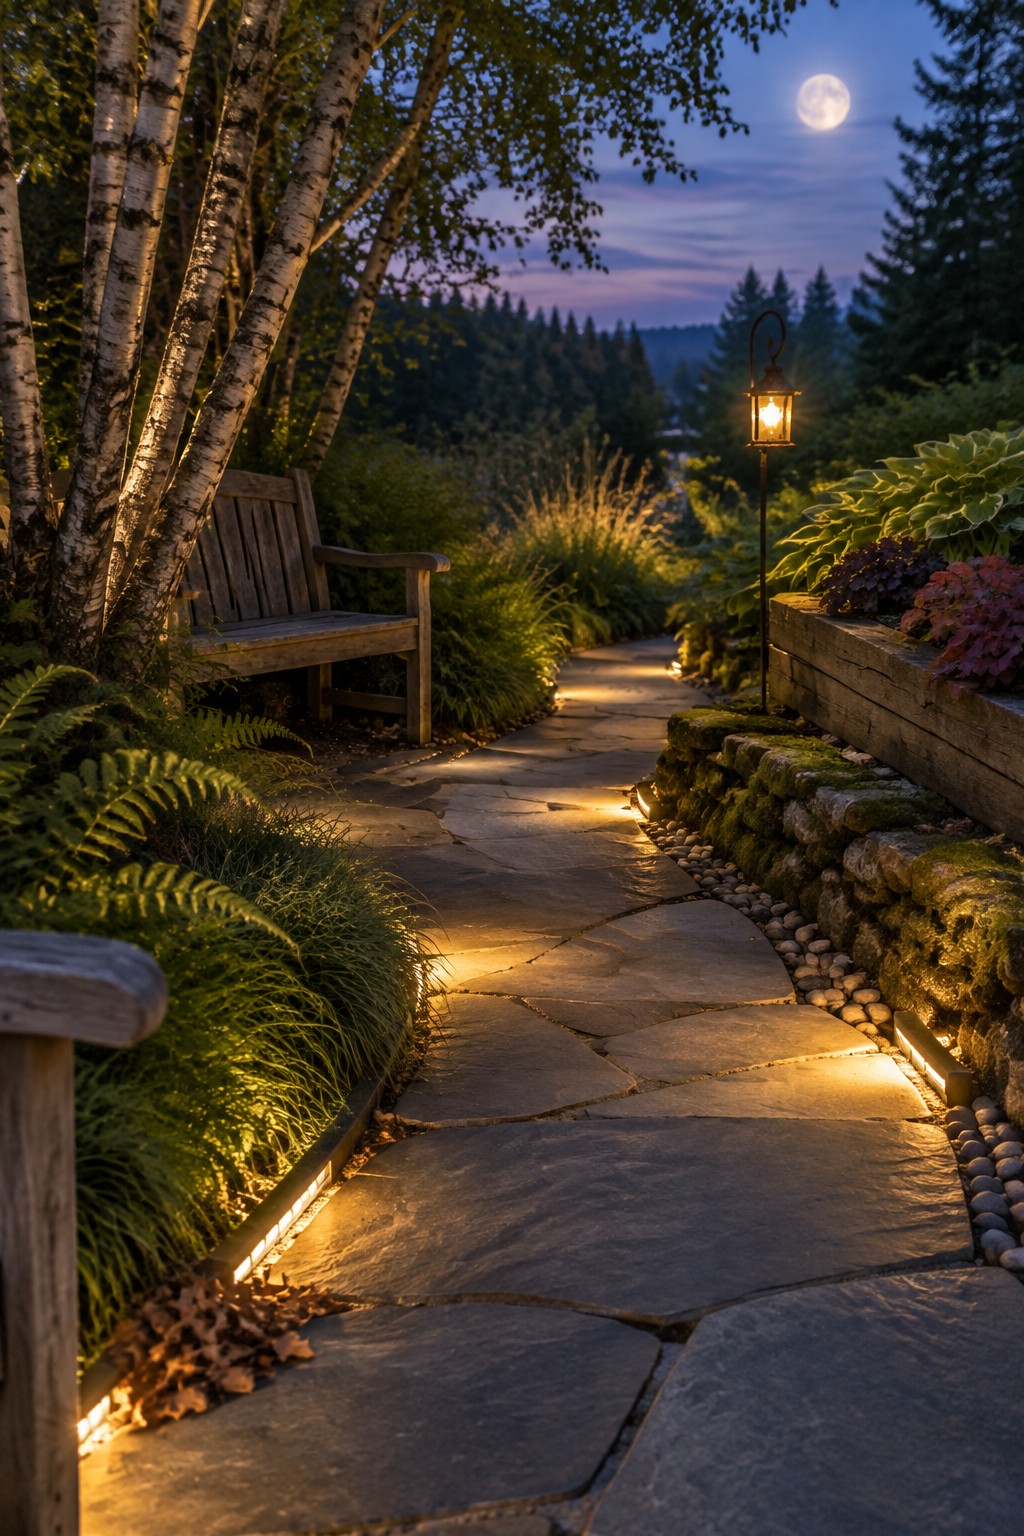
Running small lights right at the edge of a path gives just enough light to walk safely while keeping the garden feeling quiet. The glow stays low and soft, so it does not wash out the plants or the night sky.
This setup works well on winding paths through trees or shady yards. Use the low lights to mark the edges clearly, then add one taller lantern a bit farther along to give the eye a focal point without overdoing it.
Low Path Lights That Guide And Accent The Beds

These small mushroom lights sit low to the ground and do two jobs at once. They mark the edge of the gravel path so you can see where you are walking at night, and they cast a soft upward glow that brings out the shape and color of the plants right beside them.
They work best on narrower garden paths that run along established beds. Space them a few feet apart so the light stays even, and choose finishes that blend with your pots or hardscape so the lights feel like part of the garden rather than added on later.
Embedded Lights Along Garden Paths
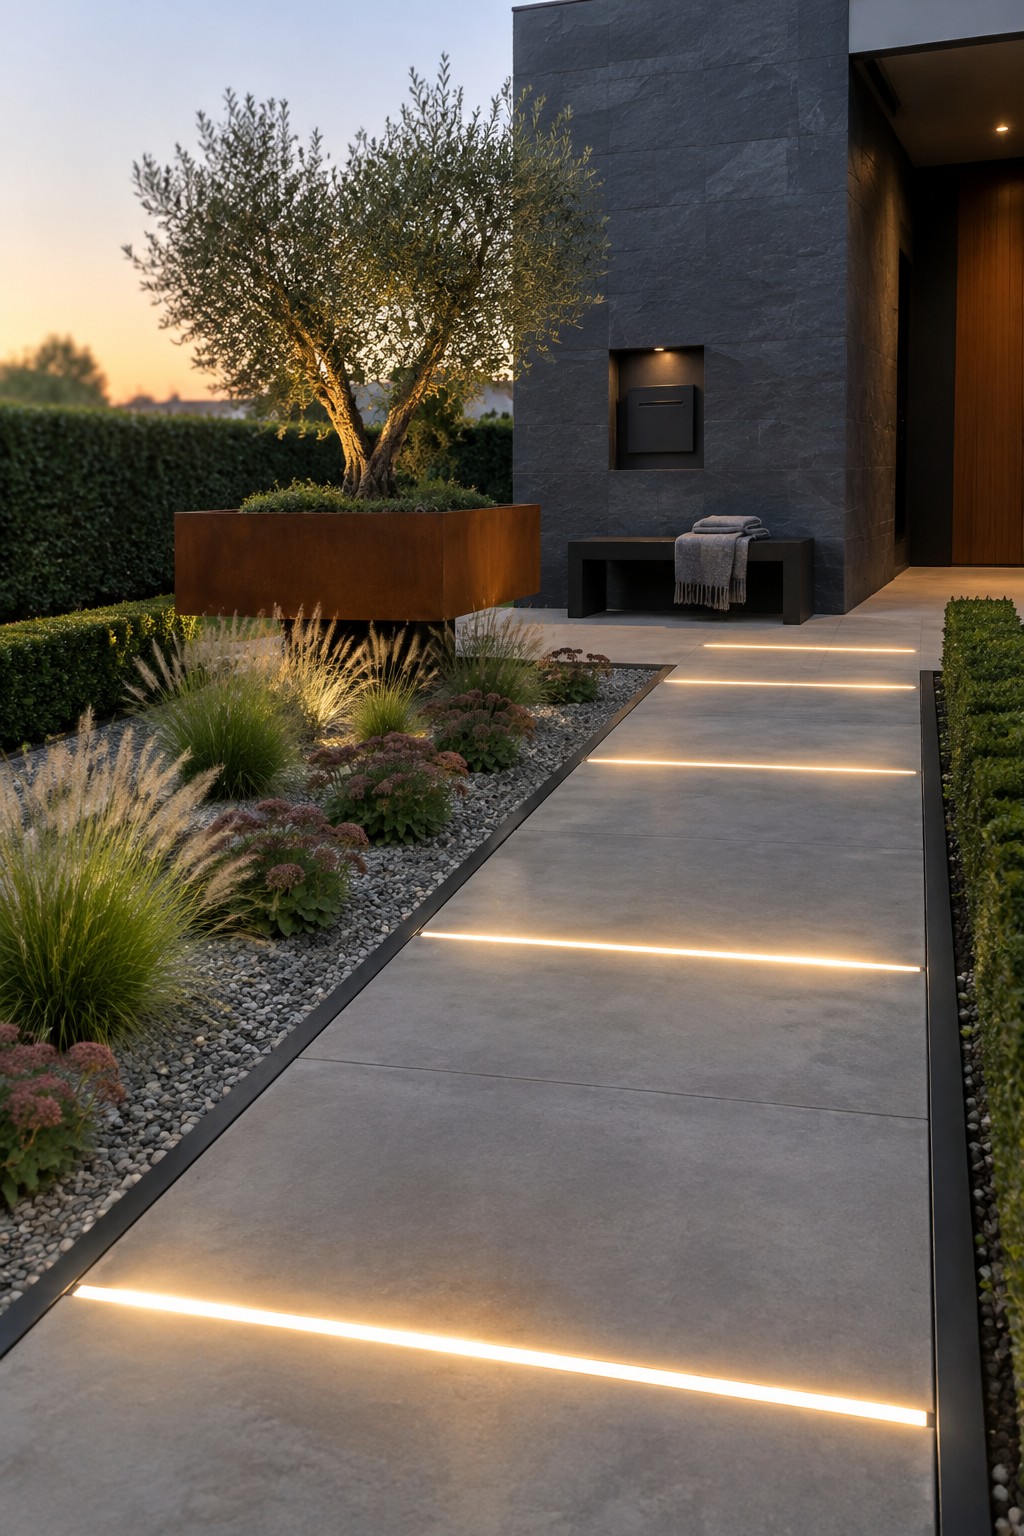
Embedding thin linear lights right into the edges of a concrete path gives a steady, low glow that marks the way without needing poles or fixtures sticking up. It keeps the surface clean and lets the planting beds on either side stay the main focus, especially once the sun goes down.
This approach works best in modern or minimalist gardens where you want lighting that feels built in rather than added on. Just make sure the lights sit flush so they do not catch debris or become a tripping point over time.
Wall Lanterns Along Garden Paths

Wall lanterns give pathways a soft, steady light that feels natural after dark. They sit up high enough to cast a gentle pool of light over the paving and the edges of nearby plantings without cluttering the ground.
This approach works especially well in narrow side yards or courtyard gardens where you already have a wall or fence running beside the path. Space the lanterns every eight to ten feet so the light overlaps just enough to keep the walk safe and to pick up the texture of the pots and leaves.
Mixing Lanterns And Low Lights Along Garden Paths

One simple way to make a garden path feel inviting after dark is to use more than one kind of light along the edges. Low ground lights can mark the route while taller lanterns add height and help light up nearby plants without overwhelming the space.
This approach works best on curved paths that run through flower beds or between borders. Space the lights so the walkway stays easy to follow, and keep the fixtures low enough that they do not compete with the plants themselves.
Low Lights Along A Stone Path

Low path lights do a quiet job of marking the way without turning the whole front yard into a spotlight. They stay low to the ground, cast just enough glow on the stones, and pick up the edges of the shrubs and pots so the walkway feels intentional at night.
This works best on straight or gently curving entry paths where you want clear footing and a bit of shape to the plantings. Space the lights evenly, keep the fixtures simple and close to the ground, and avoid anything too tall that would compete with the garden.
Adding Low Globe Lights Along Brick Paths

One idea that works well is to tuck small globe lights right into the planting beds that run beside a brick path. The lights sit low, so they mark the route without turning the garden into something too formal or brightly lit.
This works best in informal gardens where the path curves through tall flowers and grasses. Space the lights a little unevenly and pick warm bulbs so they feel like part of the planting during the day and still show the way at night.
Low Pathway Lights In Stone Edging
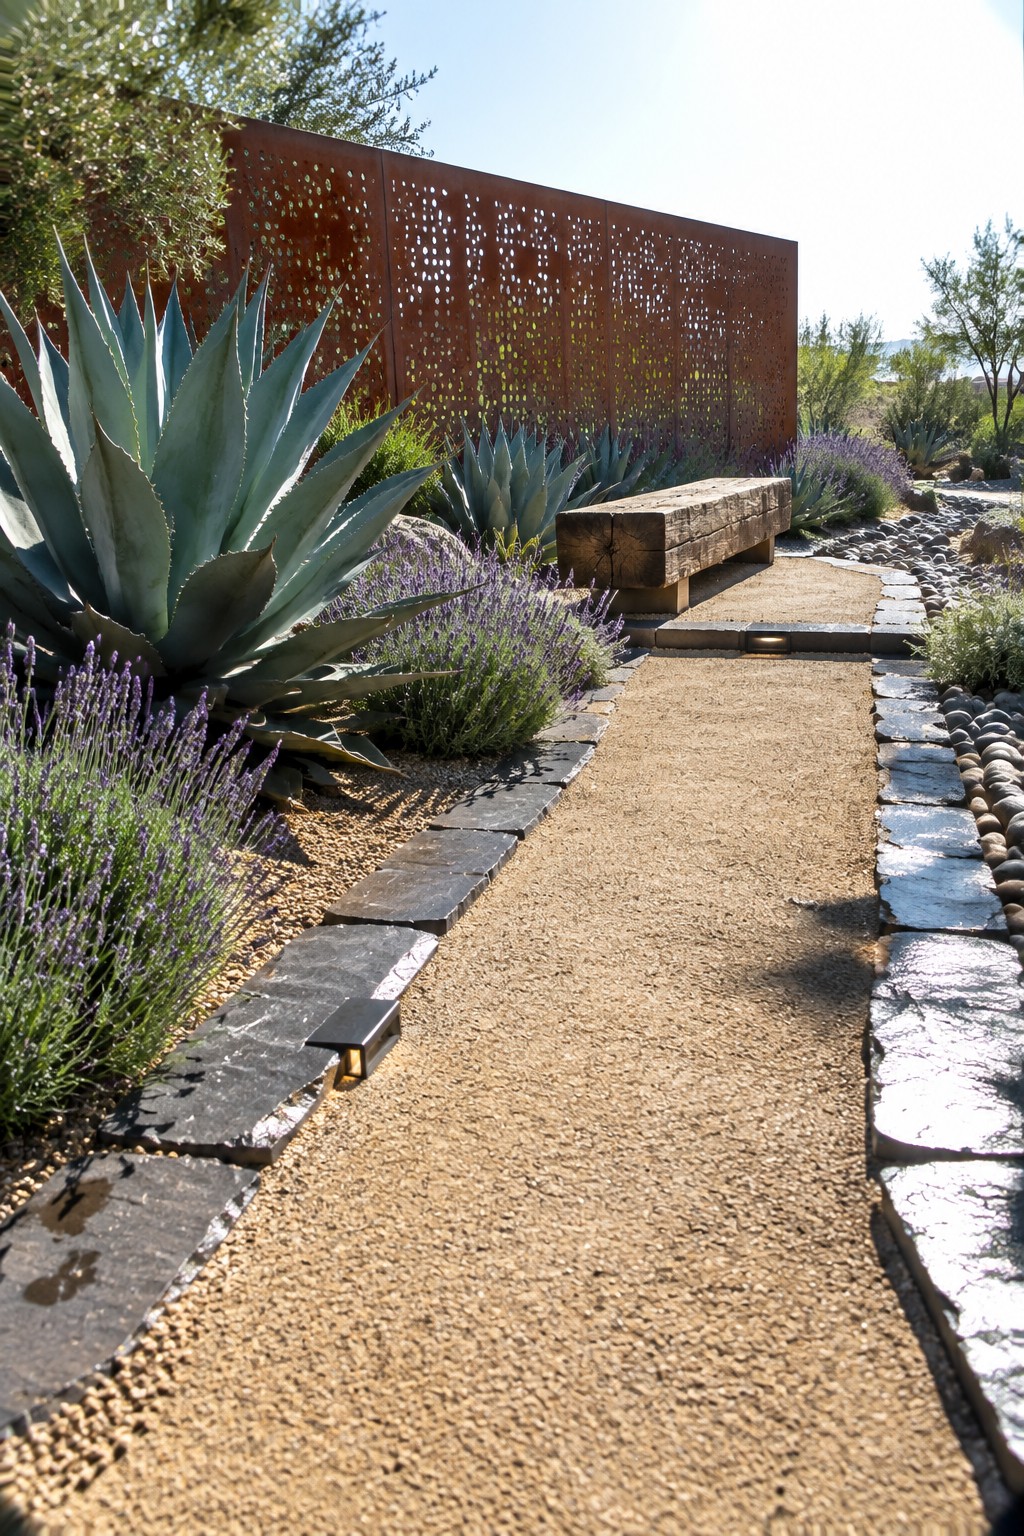
Small lights set into the stone borders of a gravel path give just enough light to follow the route after dark. They stay low so they do not compete with the plants or create bright spots that feel out of place in a garden.
This works best on paths that already have a clear edge, like stone or concrete borders next to gravel or decomposed granite. Space the lights evenly and angle them slightly down so they mark the way without lighting up the whole bed or shining into windows.
Small Lanterns Along Garden Paths

Small lanterns placed low to the ground work well for lighting a garden path because they follow the shape of the walkway and stay hidden among the plants during the day. The light stays soft and close to the surface, which helps the path feel part of the garden instead of a separate feature.
This setup suits older homes or cottage gardens where paths curve through flower beds. Space the lanterns unevenly and keep them short so they blend in with the planting rather than lining up like markers.
Built-In Lighting Along Pathway Edges

One simple way to light a garden path is to tuck the fixtures right into the hardscape itself. Here the light comes from a narrow glowing strip set into the top of the concrete wall, casting a steady line of light along the edge of the stones and onto the plants beside them.
This works best in gardens that already have low walls or raised beds, since the structure hides the source and keeps the look clean. It suits modern layouts where you want the plants and the path to stay the main focus, and it avoids the clutter of separate lamps along the ground.
Low Pathway Lights That Blend Into The Garden

Placing small lights low to the ground along a garden path helps mark the way without overpowering the plants. The warm glow stays close to the walkway and lets the surrounding shrubs and flowers remain the main focus after dark.
This approach works well in established gardens where the path already curves through the beds. Keep the fixtures short, space them evenly, and choose a soft bulb so the light feels gentle rather than harsh against the greenery.
Pathway Lighting with Lanterns
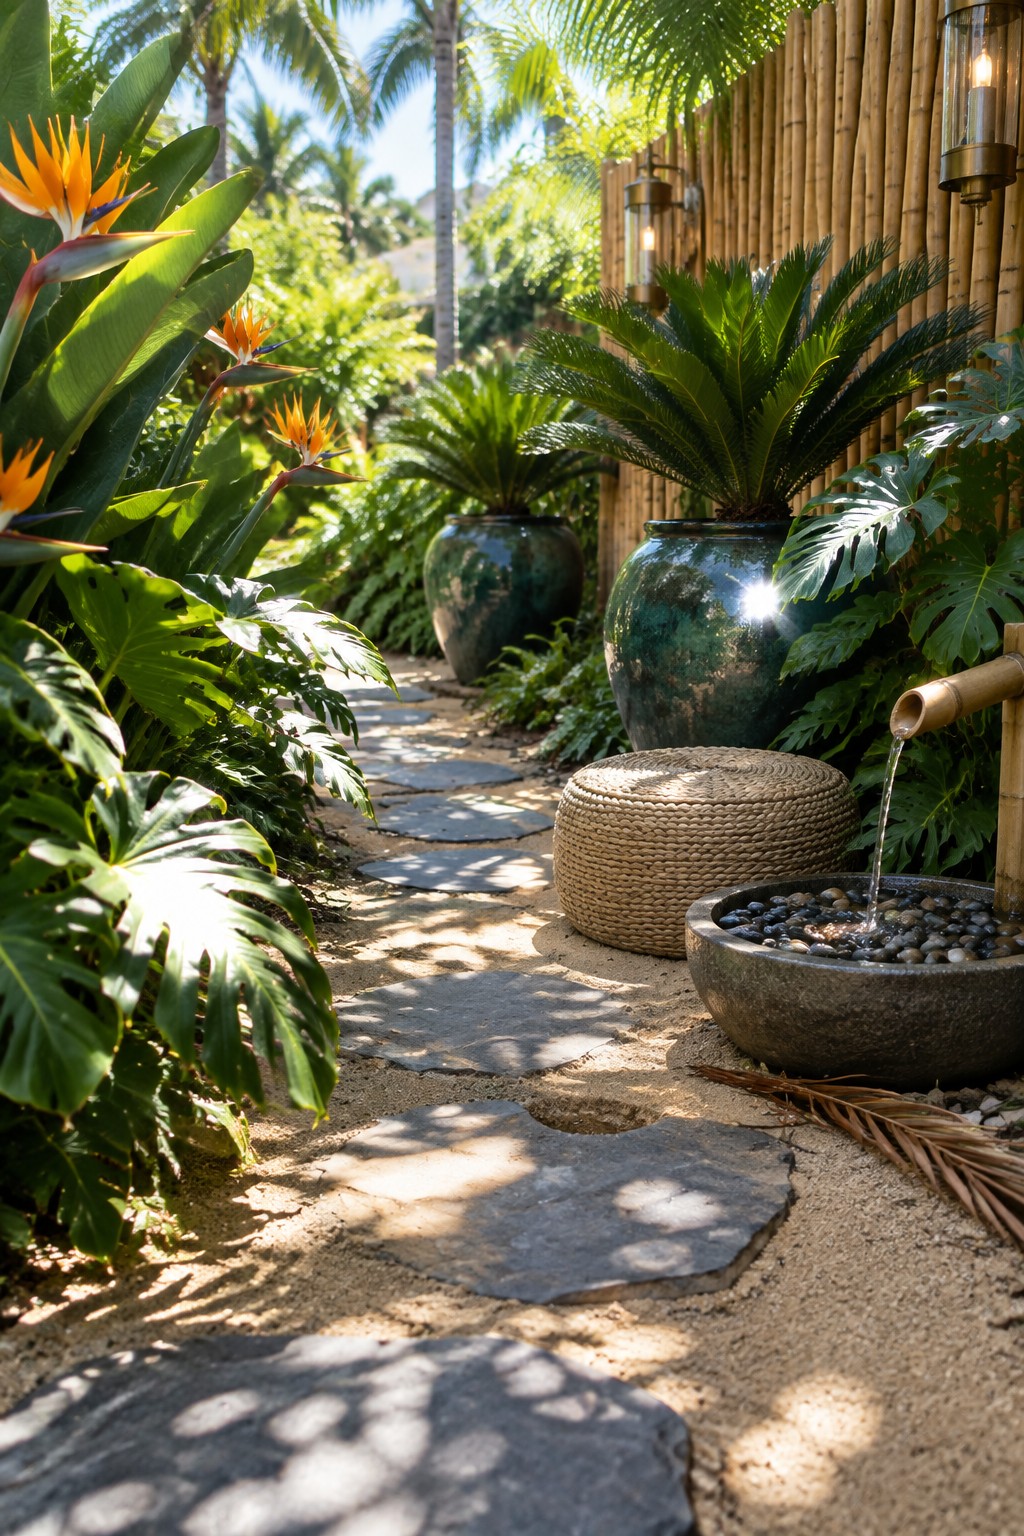
Lanterns mounted along a fence or wall give a garden path just enough light to feel welcoming after dark. They highlight the edges of the stepping stones and cast a soft glow on nearby leaves without flooding the whole space.
This approach works well in tropical or lush plantings where you want the light to feel part of the garden rather than an add-on. Place the lanterns at a consistent height and spacing so the path stays easy to follow, and choose warm bulbs that keep the evening mood gentle.
Recessed Lights Along Garden Paths

Small recessed lights set right into the edges of stone steps give just enough light to walk safely without adding visible fixtures or harsh glare. The glow stays low and close to the ground, which helps the surrounding plants stay the main focus instead of the lighting itself.
This approach works well on sloped or winding garden paths where you need to mark each step clearly after dark. It suits homes with natural landscaping because the fixtures disappear during the day and do not compete with the flowers or foliage. Just be sure to space them evenly and use fixtures rated for wet locations.
Layer Path Lights With Overhead Accents

Layering low path lights with hanging fixtures gives a garden path more depth without needing a lot of bright light. The low lanterns mark the edges clearly while the overhead globes add a gentle glow higher up, and the mix keeps the whole walkway from feeling flat or overly lit at night.
This approach works best on brick or gravel paths that wind through hedges and planting beds. Keep the path lights simple and dark so they blend in during the day, and hang the overhead fixtures at different heights to avoid a rigid line. It suits older homes or cottages where the garden already has some structure.
Place Low Accent Lights Beside Garden Steps

Low metal fixtures tucked right at the edge of the path give just enough light to see the wooden steps without flooding the whole garden. The glow stays close to the ground, picking up the flowers and gravel while leaving the rest of the planting beds in soft shadow.
This works best in smaller gardens or along narrow routes where you want the lighting to feel built in rather than added later. Space the lights a few steps apart, keep the bulbs warm and low wattage, and angle them slightly down so they do not glare into windows or wash out the plants.
Ground Lights That Trace a Garden Path

Small ground lights placed right along the edge of a path can make the route easy to follow after dark without turning the whole garden bright. They sit low so the light stays focused on the stones and nearby plants rather than spilling upward.
This works best in side gardens or smaller yards where you want a soft guide rather than strong overhead fixtures. Tuck the lights among moss or low ground cover so the glow feels like part of the planting instead of an added feature.
Classic Lanterns Along Garden Paths

One simple way to light a narrow side garden is to set tall lantern posts at intervals along the path. The lights guide footsteps at night while also casting a soft glow over the layered plants and low flowers that edge the walkway.
This approach works best in tight spaces where you want practical lighting without adding fixtures to the ground. Space the lanterns so the light reaches both the stepping stones and the nearby foliage, and choose a height that keeps the glow low enough to highlight the planting rather than flooding the whole area.
Recessed Lights In Stone Steps

Recessed lights tucked under the edge of each step give a path just enough definition at night. The glow stays low and focused, so it marks the way without brightening the whole garden or shining into windows. This works especially well on solid materials like stone or concrete where the fixtures can sit flush and stay protected.
It suits homes with slight grade changes between the house and the yard or along a side path. Keep the spacing even and choose warm LEDs so the light feels soft rather than harsh. Check that the fixtures are rated for outdoor use and angled downward to reduce glare on the steps themselves.
Glowing Orbs Along Garden Paths

Glowing orbs give a simple path a soft lift once the light fades. They sit low to the ground so the light spreads across the stepping stones and nearby plants without needing tall fixtures or harsh beams.
Place them in small clusters or stagger them along the edges of the walkway. They work best in casual gardens where you want a little color and easy setup, but keep the spacing even so the path stays easy to follow at night.
In-Ground Lights Along A Planting Edge

These small recessed lights sit right in the paving and throw just enough glow to mark the path while catching the base of the raised bed. The effect keeps the garden readable at night without any tall fixtures cluttering the view or blocking the walk.
They suit straight or gently curved borders where the planting meets the hardscape. Use them on any home where you already have a clear edge between bed and path, and keep the spacing even so the light stays steady rather than patchy.
Bollard Lights For Garden Paths

These lights sit low to the ground and cast a gentle pool of light across each stepping stone. The effect keeps the path easy to follow at night while leaving the surrounding plants and trees looking natural instead of staged.
They work best on informal garden paths where you want clear guidance without tall fixtures or bright glare. Space them near turns or changes in level rather than in a rigid line, and choose finishes that match nearby hardscaping so they blend in over time.
Planter Lights That Double As Path Lighting
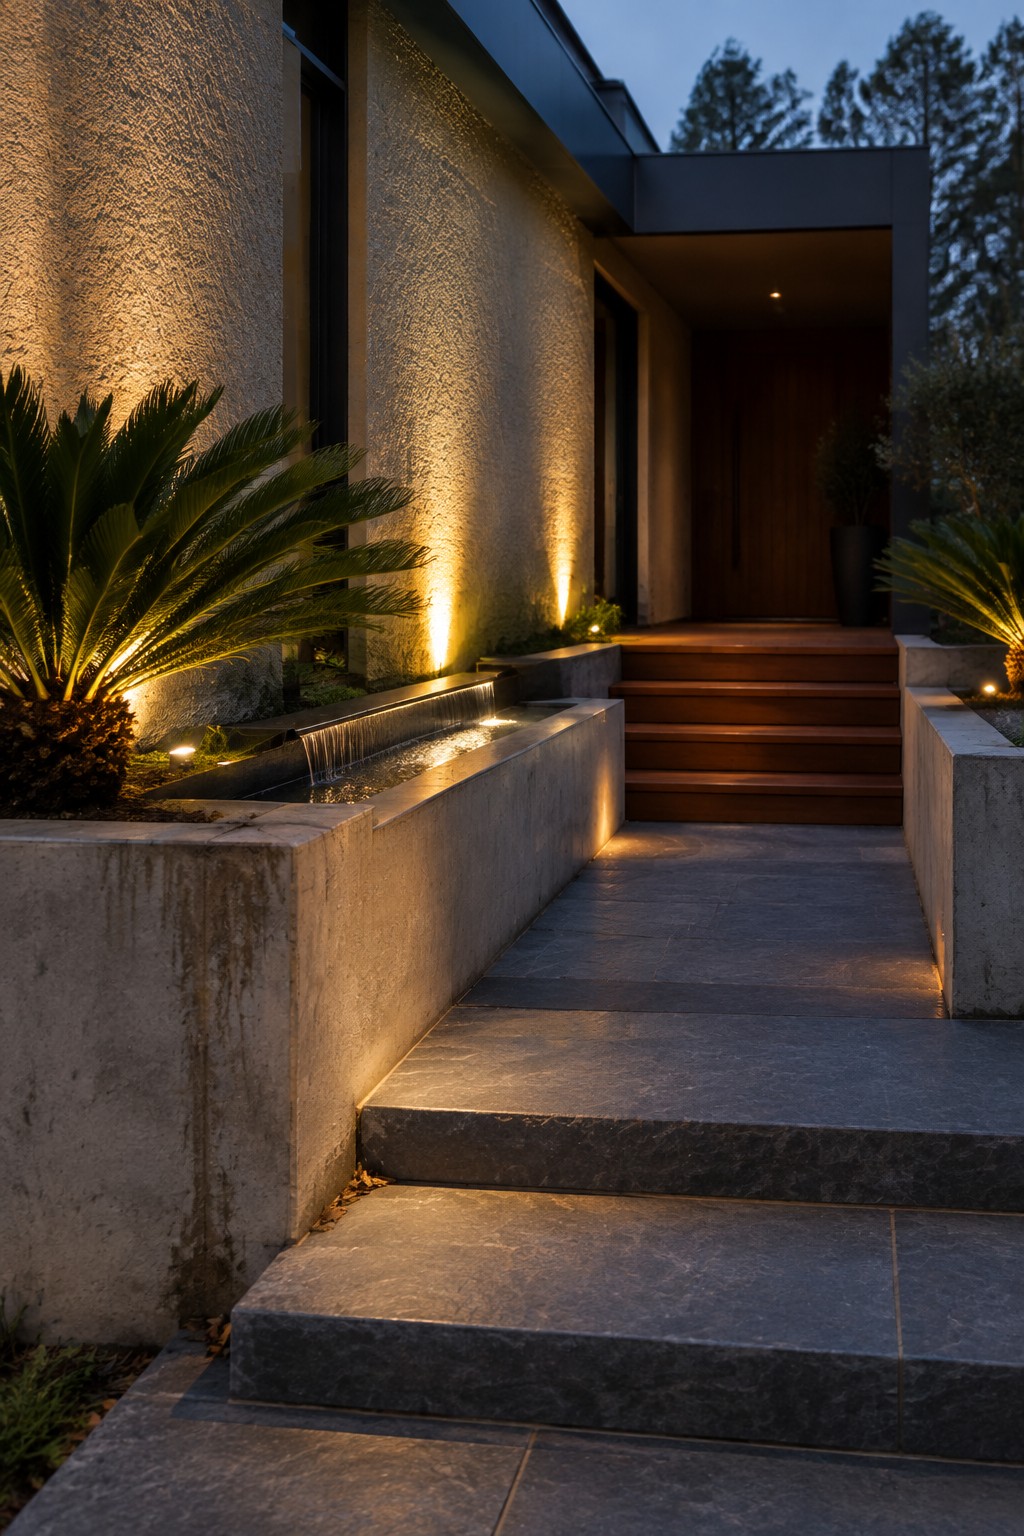
Some people recess small fixtures right into the front of their concrete planters. This lights the plants from below while also casting a low glow across the steps or walkway right next to them.
It works best on homes that already use raised planters to frame an entry or path. Keep the lights aimed downward and choose warm bulbs so the stairs stay easy to see at night.
Frequently Asked Questions
Q: How do I keep the path lights from beaming straight into my windows at night? A: Tilt the fixtures low and angle them toward the plants or ground. Walk around the yard after dark and tweak each one until the light stays where you want it.
Q: What is the easiest way to hide cords along the walkway? A: Run the wires under a thin layer of mulch right next to the path edge. Push them behind larger stones or plant clumps so nothing shows.
Q: Do solar lights still work well under a shady tree canopy? A: They need several hours of direct sun each day to stay bright. Switch to low voltage wired lights in those spots so the plants stay lit without fading out.
Q: How often should I check the fixtures after winter? A: Look them over once in early spring. Wipe off dirt and tighten any loose parts before the season starts.
