

Key Takeaways
- Identify Your Nokia Model: Different Nokia models have unique battery compartment designs, so knowing your specific model is crucial for proper battery removal.
- Gather Essential Tools: Prepare necessary tools like a flathead screwdriver, plastic pry tool, and tweezers to facilitate a safe and efficient battery removal process.
- Follow Step-by-Step Instructions: Turn off the phone, open the back cover, locate the battery, and carefully remove it to avoid damage.
- Prioritize Safety: Always power down the device, use the right tools, and work in a well-lit area to minimize risks during the battery removal process.
- Inspect for Damage: Check the condition of the battery and compartment for any signs of damage before removal to ensure safety.
- Dispose of Batteries Responsibly: Follow proper disposal guidelines for old batteries to protect the environment and ensure safety.
Have you ever found yourself staring at an old Nokia phone, wondering how to get the battery out? You’re not alone. Many people hold onto these classic devices, whether for nostalgia or the occasional emergency. But when it comes time to replace that stubborn battery, it can feel like a puzzle.
Overview of Old Nokia Phones
Old Nokia phones, known for their durability and long battery life, remain popular among users. Many people keep these devices for nostalgia or as backup phones. Their simplistic design makes them user-friendly, even for those less familiar with modern smartphones.
Nokia models like the Nokia 3310 and Nokia 5210 are iconic examples. Each features a removable battery, a key reason they continue to attract attention. You can easily replace the battery with a compatible one, ensuring the phone remains functional even after years of use.
These devices typically run on older technology, with basic features like calling, texting, and simple games. They excel in providing reliable communication without the distractions of modern mobile applications. If you prefer a straightforward mobile experience, old Nokia phones excel.
Understanding the model of your Nokia phone is essential before removing the battery. Common models include the Nokia 1100, 6600, and 8110. Each model has a unique battery compartment design, influencing the removal process.
When preparing to remove the battery, ensure the phone is turned off. Look for the small indentation or latch that opens the back cover. Once the cover is removed, you can easily take out the battery. This simplicity has made Nokia phones a favorite for those who value ease of use and practicality.
Tools Needed for Battery Removal
Removing the battery from an old Nokia phone requires a few basic tools. Having the right items on hand simplifies the process and minimizes the risk of damage.
Recommended Products

Kaisi 20 pcs opening pry tools kit for smart phone,laptop,computer tablet,electronics, apple watch, iPad, iPod, Macbook, computer, LCD screen, battery and more disassembly and repair
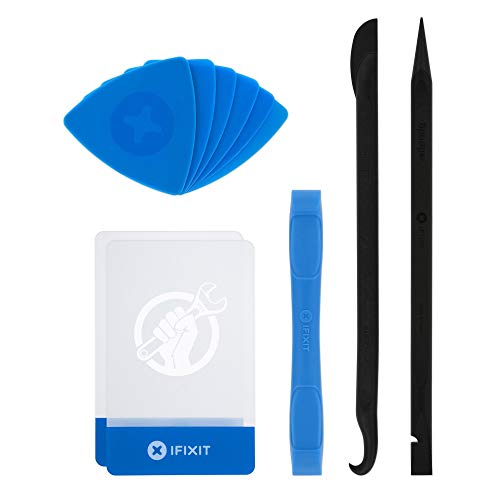
EFFECTIVE: Open your tech device and safely remove components with ease. Essential for DIY repairs like displays, batteries, motherboards, headphone jacks, joysticks, and more.

【Universal】These spudger kit and pry tools professional designed for disassembling a variety of electronics - iPhone, android phone, laptop, tablet, apple watch, iPad, iPod, Macbook, computer, LCD screen, battery and more
Recommended Tools
- Flathead Screwdriver: Use this for prying off the back cover. Choose a small to medium-sized screwdriver for optimal leverage.
- Plastic Pry Tool: This tool minimizes the risk of scratching your phone. It’s especially useful for gently lifting the battery compartment lid.
- Tweezers: Having tweezers can help you grip the battery securely when removing it.
- Soft Cloth: A soft cloth protects your phone’s screen and body from scratches during the removal process.
Alternative Options
- Credit Card or Plastic Card: A durable card serves as a makeshift pry tool if you don’t have a plastic pry tool.
- Bobby Pin: If you need something sharp yet thin, a bobby pin can help lift the battery compartment lid.
- Q-tip: Use a Q-tip to clean any accumulated dust from the battery compartment after removal.
Gather these tools before starting. Doing so enhances efficiency and helps ensure a hassle-free battery removal experience.
Step-by-Step Guide to Remove Battery
Removing the battery from an old Nokia phone is a straightforward process. Follow these practical steps to handle it with ease.
Recommended Products

Professional Tools: Showpin's 3-in-1 iopener includes LCD and double-headed screen opening tool plus a cleaning cloth. Suitable for mobile phones, iPads, and other mobile devices, facilitating the easy removal or replacement of the LCD screen and battery.

22 in 1 repair tool kit made of high quality material for cellphone disassembly and repair, durable and high precision, professional repair tools help you get more assistance while repairing devices.

Powerful Function: This 2 in 1 opening repair tool kit is professtional tool that compatible with repairing moble devices, iPhone, iPads, iPods or any other smart phones.Good helper to remove screen when you need repair your phone.
Preparing Your Phone
- Turn Off Your Phone: Power down your device completely. This step prevents any electrical issues during the battery removal.
- Gather Your Tools: Ensure you have the necessary tools ready. A flathead screwdriver, plastic pry tool, tweezers, and a soft cloth work well. If you lack these tools, alternatives like a credit card or bobby pin can help.
Removing the Battery
- Locate the Battery Compartment: Find the back cover of your phone. On older models, it usually has a small latch or indentation to lift it easily.
- Open the Back Cover: Use your fingers or a plastic pry tool. Start at the latch or indentation, gently lifting the cover until it separates from the phone.
- Identify the Battery: Once the back cover is off, locate the battery. It typically sits snugly in the compartment, facing the back of the device.
- Remove the Battery: If the battery has a pull tab, gently pull it to lift the battery out. If not, carefully use your fingers or tweezers to wiggle the battery free. Avoid applying excessive force to prevent damage.
- Store the Battery Safely: Place the battery in a safe location away from direct heat or moisture, especially if you plan to reuse it later.
These steps ensure a smooth battery removal process without hassle or damage to your old Nokia phone.
Safety Precautions
Prioritizing safety when removing the battery from your old Nokia phone is crucial. Follow these tips to minimize risks:
- Power Down the Device: Always turn off your phone before attempting to remove the battery. This step prevents shocks or short circuits.
- Use the Right Tools: Ensure you’re using recommended tools, such as a flathead screwdriver or plastic pry tool. Using improper tools can lead to slips and injuries.
- Avoid Metal Objects: Keep metal objects away from the battery terminals. Contact with metal can cause short-circuits and damage.
- Inspect for Damage: Check the battery and its compartment for signs of damage. If you notice swelling, corrosion, or leaks, avoid touching it and dispose of it correctly.
- Work in a Well-lit Area: Perform the removal in adequate lighting. Good visibility aids in identifying battery components and avoids mistakes.
- Wear Protective Gear: Consider wearing safety glasses and gloves, especially if you expect debris or potential battery leaks.
- Follow Manufacturer Guidelines: Refer to your phone’s manual or guidelines for specific safety instructions related to your model. Each model may have unique considerations.
- Keep Away from Kids and Pets: Ensure children and pets are not nearby when removing the battery. This keeps them safe from any accidents.
- Proper Disposal: Dispose of old batteries at designated recycling locations. This action helps prevent environmental contamination.
Following these safety precautions ensures a smoother and safer battery removal process.
Recommended Products

Ultra-Thin 0,1mm Professional Stainless Steel Curved Spudger Pry Blade Repair Opening Tool
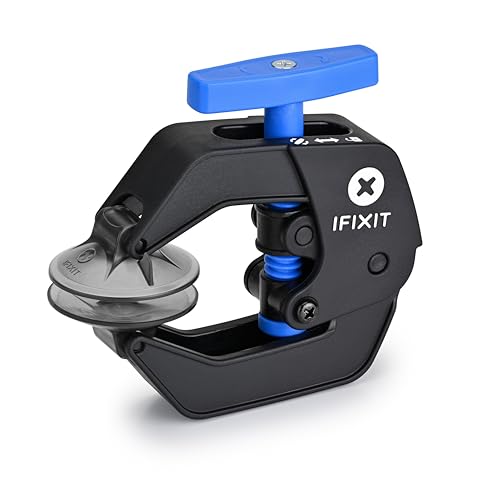
Open adhesive assembled devices with smooth glass, metal or plastic top and bottom surfaces.
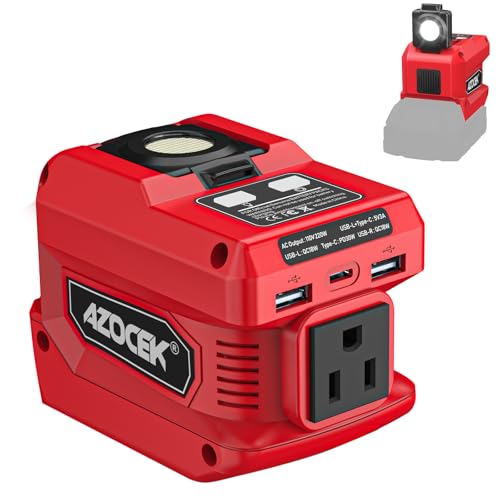
Compatible with 18V Batteries: This Azocek power inverter is specifically designed Compatible with Mil-wau-kee 18V batteries (e.g., 48-11-1815, 48-11-1850, 48-11-1820), powered directly by the battery, provides portable power for outdoor activities or emergencies anytime, anywhere (Battery not included)
Conclusion
Removing the battery from your old Nokia phone doesn’t have to be a daunting task. With the right tools and a little patience you can easily navigate the process. Remember to take your time and follow the steps carefully to avoid any mishaps.
These classic devices are not just nostalgic relics but practical options for those who appreciate simplicity. Whether you’re keeping your Nokia for emergencies or just for fun it’s worth knowing how to maintain it properly. Enjoy the satisfaction that comes with giving your old phone a little TLC and keep it running smoothly for years to come.
Frequently Asked Questions
How do I remove the battery from my old Nokia phone?
To remove the battery from your old Nokia phone, start by powering off the device. Next, locate the battery compartment, usually at the back. Open the back cover, gently pry the battery out using a plastic tool, or your fingers. If required, use tweezers for better grip. Handle carefully to avoid damage, and ensure you store the battery properly if you plan to reuse it.
Why do people keep old Nokia phones?
Many people keep old Nokia phones for nostalgia, reliability, or as a backup in emergencies. These phones are known for their durability and long battery life, appealing to users who appreciate a straightforward mobile experience without modern smartphone distractions.
What tools do I need to remove a Nokia battery?
For safely removing a Nokia battery, you typically need a flathead screwdriver, a plastic pry tool, tweezers, and a soft cloth. If you don’t have these, a credit card or bobby pin can be a suitable substitute. Having the right tools simplifies the process and minimizes damage risk.
Are all Nokia phone batteries removable?
Not all Nokia phone models have removable batteries. Iconic models like the Nokia 3310 and Nokia 5210 feature easily removable batteries, while newer models may have sealed designs. Always check the specifications for your specific model to understand its battery removal capabilities.
What safety precautions should I follow when removing a battery?
When removing a battery, power down the device first. Use appropriate tools, avoid metal objects near the terminals, and inspect the battery for damage. Work in a well-lit area, wear protective gear, and keep children and pets away. Follow manufacturer guidelines and recycle old batteries properly.
