
Ever found yourself struggling to remove your laptop battery when it’s time for a replacement or a quick reset? It’s a common dilemma that many laptop users face. But fret not, as in this article, you’ll discover the simple steps to safely and easily take off your laptop battery.
Imagine the convenience of being able to swiftly swap out your laptop battery without any hassle. No more wrestling with your device or worrying about damaging it in the process. By learning the proper technique for removing your laptop battery, you’ll save time and effort while ensuring the longevity of your device.
Prepare Your Workspace
Setting the right workspace can make removing your laptop battery a breeze. Here’s how you can get started:
- Turn off your laptop: Ensure your laptop is powered off before proceeding.
- Find a clean, flat surface: Pick a stable surface with ample lighting.
- Gather the necessary tools: You’ll typically need a screwdriver or a simple tool kit.
- Static-free environment: Avoid static-prone areas to prevent damaging sensitive components.
Remember, a well-prepared workspace sets the stage for a successful battery removal process.
Power Down Your Laptop
When it’s time to remove your laptop battery, the first step is powering down your device properly. Here’s how to do it effectively:
- Save Your Work: Ensure all your files are saved to prevent any data loss.
- Close Applications: Shut down all open programs to avoid any potential conflicts during the power-down process.
- Shut Down Properly: Click on the “Shut Down” option in your operating system to turn off your laptop safely.
- Disconnect Power Sources: Unplug your laptop from any power source to avoid electric shocks during the battery removal process.
- Wait a Few Minutes: Allow your laptop to cool down for a few minutes before proceeding to remove the battery.
Adequately shutting down your laptop is crucial to prevent any damage to your device and ensure a smooth battery removal process.
Locate the Battery Release Latch
When removing a laptop battery, the first step is to find the battery release latch. This latch is typically located on the bottom of the laptop. Look for a switch or sliding mechanism that secures the battery in place.
Here are a few tips to help you locate the battery release latch with ease:
- Check the bottom of your laptop for a compartment specifically designed to house the battery.
- Look for any icons or markings that indicate the location of the battery release latch.
- Refer to your laptop’s user manual for detailed instructions on identifying the battery release latch.
Once you have located the battery release latch, you’re ready to proceed with the next steps in removing the laptop battery.
Recommended Products

【Specification】Voltage: 11.55V. Capacity: 45Wh 3750mAh. Battery Type: Li-Polymer. Condition: Brand new, from high quality materials, top circuit boards and smart chip.

【Specification】Voltage: 15.4V. Capacity: 90Wh. Battery Type: Li-ion. Condition: Brand new, from high quality materials, top circuit boards and smart chip.

【Specification】Voltage:15.44V. Capacity: 95Wh 5907mAh. Battery Type: Li-Polymer. Condition: Brand new, from durable materials, top circuit boards and smart chip.
Remove the Battery
When it’s time to remove the battery from your laptop, follow these simple steps:
- Find the Battery Release Latch: Look for a small switch or button usually located on the bottom of your laptop. It might be marked with icons like a battery or lock symbol.
- Slide or Press the Latch: Use your fingers to slide or press the latch in the unlock position. Some laptops have a designated compartment for the battery release.
- Remove the Battery: After releasing the latch, gently lift the battery out of its slot. Be sure to handle it carefully and avoid pulling forcefully.
- Check the User Manual: If you’re unsure about the battery removal process for your specific laptop model, refer to the user manual for detailed instructions.
- Safety First: Remember to power off your laptop and disconnect it from any power source before removing the battery. This simple precaution can prevent damage to both the device and yourself.
| Important Note |
|---|
| Always handle the battery with care to avoid damaging it. If you encounter any resistance during the removal process, stop and seek professional assistance to prevent any potential harm. |
Recommended Products

【Only for one type of watch】What you need to pay special attention to is that this adjustable watch back opener is only suitable for watch back cover with notches, not for watch back with a pry opening or screws; only suitable for round watch, not for square or other types watch.

⌚Easy to Operate: This watch battery replacement tool kit makes it easier to open the cover. Simply place the dedicated blade precisely under the gap between the case and back cover, and gently apply force to pry it open. Even beginners can quickly get started.
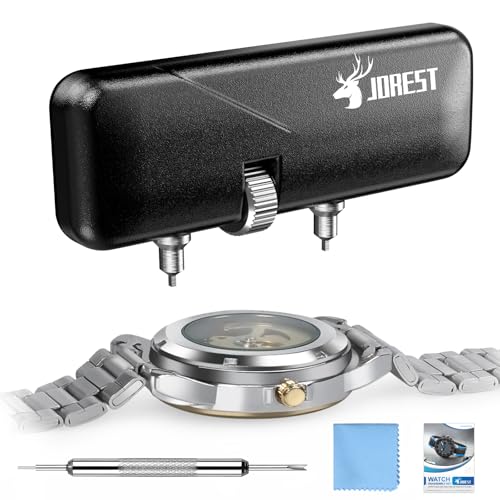
【Applicable Phenotypes】 The caseback opener is only suitable for watch covers with notches that can be rotated and twisted open, not for models that should be opened in other ways. Moreover, the diameter of the square claws is 1.7mm.
Reassemble Your Laptop
Once you’ve successfully removed your laptop battery, it’s time to reassemble everything. Follow these steps to put it all back together smoothly:
1. Insert the Battery:
- Line up the battery with the compartment, ensuring the contacts align correctly.
- Gently slide the battery back into place until it clicks or locks securely.
2. Secure the Battery:
- Make sure the battery is sitting flush and secure in its compartment.
- Double-check that it’s properly connected and won’t wiggle or come loose.
3. Close the Battery Compartment:
- Carefully slide the compartment cover back into position.
- Secure any screws or locks to keep the battery in place.
- Reattach the power adapter or plug in the battery if it was removed.
- Power on your laptop to ensure everything is working correctly.
Remember, reassembling your laptop after removing the battery requires the same care and attention as when you took it apart. If you encounter any issues or something doesn’t seem right, don’t hesitate to seek help from a professional.
By following these steps, you should have no trouble safely and effectively reassembling your laptop after removing the battery.
Recommended Products

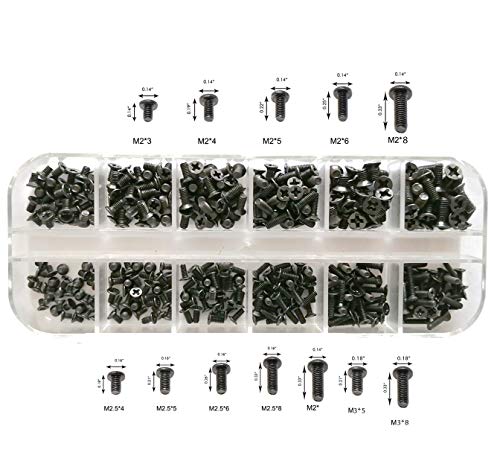
Perfect for SSD M.2, PC case, power supply, motherboard, hard drives, fan and floppy/CD-ROM/DVD-ROM drives fixed installation, they are placed in a box, easy to find and use!

Conclusion
You’ve now learned the essential steps for reassembling your laptop post battery removal. By carefully inserting the battery, ensuring its security, closing the compartment, and checking the connection, you can successfully put your laptop back together. Remember, handling this process with attention is key. If you encounter any difficulties, don’t hesitate to seek professional assistance. Following these guidelines will help you safely and efficiently reassemble your laptop after removing the battery.
Frequently Asked Questions
Why is it important to reassemble a laptop carefully after removing the battery?
It is crucial to handle the reassembly process carefully to avoid damage to the components and ensure proper functioning of the laptop.
What are the key steps to reassembling a laptop after removing the battery?
Insert the battery securely into the compartment, close the battery compartment properly, and check for a correct connection.
What should you do if you encounter any issues during the reassembly process?
If any problems arise during reassembly, it is recommended to seek assistance from a professional to avoid causing further damage.