
Ever been stuck with a dead battery in your Honda CRV, wondering how to get back on the road? Imagine the relief of knowing exactly how to replace it yourself, saving time and money. In this article, you’ll discover the step-by-step guide to replacing your Honda CRV battery effortlessly.
Picture this: You’re all set for a road trip, but your car won’t start. Frustrating, right? Learning how to replace your Honda CRV battery can be the key to avoiding these inconvenient situations. With our easy-to-follow instructions, you’ll be equipped to tackle this task like a pro in no time.
Checking Battery Type and Size
When checking your Honda CRV’s battery type and size, it’s crucial to find the correct match for a seamless replacement. Here’s what you need to know:
- Look for the recommended battery group size in your vehicle’s manual.
- Common sizes include Group 35 and Group 24F, but it’s best to confirm this detail to avoid compatibility issues.
Remember, the right battery type and size ensures a perfect fit and optimal performance for your Honda CRV.
Recommended Products
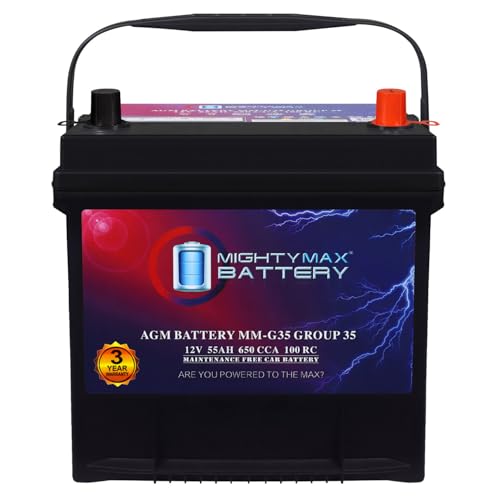
Fast Starting Power: This 12V 55Ah 650 CCA delivers strong, steady starts is ready for any weather in any season.

Perfect Fit for Honda Key Fobs - Designed to match a wide range of Honda models, including the Civic, Accord, CRV, Pilot, Odyssey, HRV, Fit, Passport, Ridgeline, Crosstour, Insight, Clarity, CR-Z this CR2032 battery set ensures a precise fit for your key fob. Say goodbye to compatibility worries and hello to a hassle-free solution.

Top-Level Safety – AGM design reduces the risk of acid leaks and spills by absorbing and holding acid in glass fiber mats. Safer to handle, more durable, and up to 2–3 times longer lifespan than conventional flooded batteries. Ideal for high-performance vehicles.
Gathering Necessary Tools
When replacing the battery in your Honda CRV, it’s essential to have the right tools ready. Here’s what you’ll need:
- Socket set and ratchet: Efficient for removing battery terminals.
- Battery cleaning brush: Helps clean corrosion from connectors.
- Safety goggles and gloves: Protect your eyes and hands during the process.
- Battery hold-down wrench: Necessary for securing the new battery in place.
- Battery terminal puller: Makes removing terminals easier and safer.
A well-prepared toolbox ensures a smooth battery replacement process in your Honda CRV.
Remember, having the correct tools at your disposal simplifies the task ahead.
Locating the Battery in Your Honda CRV
When it comes to replacing the battery in your Honda CRV, the first step is to locate its position within the vehicle. It is typically situated under the hood, near the front of the engine bay for easy access.
Where to Find It:
- Pop open the hood of your Honda CRV.
- Look for a rectangular-shaped box with cables attached to it.
- This box is the battery housing.
Identifying the Battery:
- The battery is rectangular in shape.
- You will notice two terminal posts on the top.
Safety First:
- Keep safety in mind when working around the battery.
- Avoid wearing metal jewelry to prevent accidents.
- Disconnect the negative terminal first to prevent short circuits.
Why Location Matters:
- Knowing the battery’s location helps with easy access for replacement.
- Familiarizing yourself with the area ensures a smooth replacement process.
Pro Tip:
- Take a photo of the battery setup before disconnecting for easy reference during reconnection.
- Stay mindful of safety precautions to have a hassle-free battery replacement experience.
Removing the Old Battery Safely
When removing the old battery from your Honda CRV, follow these steps to ensure a safe process:
- Step 1: Put on safety gloves to protect your hands from any potential battery acid.
- Step 2: Locate the negative terminal, typically marked with a “minus” symbol, and disconnect it first to prevent electrical hazards.
- Step 3: Disconnect the positive terminal next, marked with a “plus” symbol.
- Step 4: Carefully lift out the old battery from the battery tray.
Remember to handle the battery with care and avoid tipping it to prevent acid spills.
Installing the New Battery Correctly
When it’s time to install the new battery in your Honda CRV, make sure to follow these steps carefully:
- Placement: Position the new battery in the tray, ensuring it sits securely.
- Connecting Terminals: Attach the positive terminal first, followed by the negative terminal.
- Securing Clamps: Tighten the clamps to ensure a snug fit without overtightening.
- Double-check Connections: Verify all connections are secure before closing the hood.
Remember, successful installation is key to ensuring your Honda CRV runs smoothly with its new battery.
Recommended Products

[High quality material] : The battery terminal is made of pure copper material, good electrical conductivity and oxidation resistance, with corrosion and rust prevention, waterproof and dustproof, wear-resistant and scratch-resistant, not easy to deformation and damage, durable characteristics, long service life.

[4 WAY BATTERY TERMINAL] Made of high-quality brass and steel material which is corrosion resistant with excellent electrical conductivity that can reduce voltage distortion and transmission loss. And it has 4 ports for multiple cable connections, wiring is easy and convenient to modify.

Fits the Following Vehicles:This battery current sensor fits for 2012 2013 2014 2015 Honda Civic CRV 2.4L.Replace Part# OE: 38920-TR0-A02, 38920TR0A02,38920-TRO-A01, 38920TROA01
Conclusion
You now have all the steps needed to replace the battery in your Honda CRV safely and efficiently. By following the instructions provided, you can ensure that the new battery is securely installed and connected correctly. Remember to prioritize safety and double-check all connections before closing the hood. With these guidelines, you’ll be able to carry out a successful battery replacement process and keep your Honda CRV running smoothly. Happy driving!
Frequently Asked Questions
Why is it important to install a new battery correctly in a Honda CRV?
Installing a new battery correctly in a Honda CRV is crucial for optimal performance and preventing electrical system damage.
How should I position the new battery in the Honda CRV during installation?
Position the new battery securely in the tray, ensuring it sits firmly in place to prevent movement while driving.
In what order should I attach the terminals when installing the new battery?
Attach the positive terminal first, followed by the negative terminal, to avoid any electrical mishaps during installation.
What should I do after attaching the terminals to the new battery?
After attaching the terminals, tighten the clamps appropriately to ensure a secure connection.
Why is it important to double-check all connections before closing the hood after installing a new battery?
Double-checking all connections helps identify any loose terminals or improper attachments that could impact the battery’s functionality.