
Key Takeaways
- Tools Needed: Gather essential tools such as a plastic opening tool, T5 Torx screwdriver, tweezers, suction cup, heat gun, and a new battery for a smooth battery replacement process.
- Step-by-Step Process: Follow a structured guide: prepare the device, remove the old battery carefully, and install the new battery while ensuring proper connections.
- Safety Precautions: Always power off your Motorola Razr before starting the replacement, and use a heat source to loosen the adhesive for easier screen removal.
- Common Issues: Be aware of potential challenges like battery quick draining, device not turning on, or battery swelling; address these by checking connections and updating software.
- Post-Replacement Testing: After reassembly, power on your device to confirm the new battery is functioning properly and ensure all components are working as intended.
- Proper Disposal: Dispose of the old battery responsibly at a recycling facility to support environmental safety.
Is your Motorola Razr suddenly losing power faster than usual? You’re not alone. Many users face battery issues over time, and if you’re tired of constantly searching for a charger, it might be time for a battery change.
Tools Required for Battery Replacement
To replace the battery on your Motorola Razr, gather the following tools:
- Plastic Opening Tool
A plastic opening tool helps prevent damage to your device when prying it open.
- T5 Torx Screwdriver
Use a T5 Torx screwdriver to remove the screws securing the battery cover.
- Tweezers
Tweezers assist in handling small components and connectors when replacing the battery.
- Suction Cup
A suction cup aids in safely lifting the screen without causing cracks or scratches.
- Heat Gun or Hair Dryer
Applying gentle heat helps loosen adhesive bonds, making it easier to open the phone.
- New Battery
A replacement battery specific to your Motorola Razr model ensures proper functionality.
Having these tools on hand streamlines the battery replacement process, allowing for a smoother experience.
Recommended Products

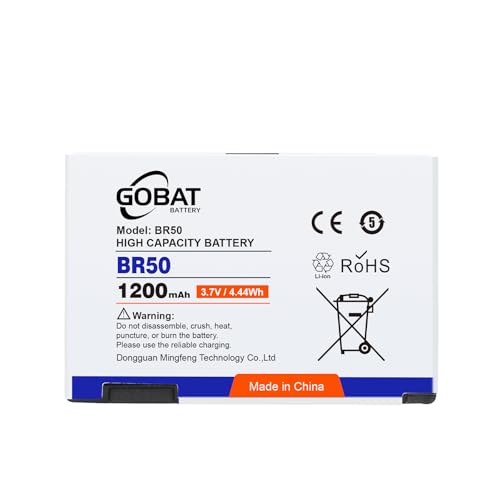
🔋 Perfect BR-50 Replacement for Motorola Phones Replace your old or dead battery with the LEOM BR-50 lithium-ion battery. Specially designed for Motorola RAZR series and PEBL U6 models for extended power and performance

【Compatible Model】:100% compatible with QR30.Please confirm that your device is suitable for this replacement battery by checking the model number before purchasing

[Applicability] : Compatible with Motorola Razr 40 Ultra. With the same shape as the original battery, it fits your phone perfectly and extends the usage time of your phone.Each battery is tested to strict quality control standards before it leaves the factory
Step-by-Step Guide to Changing the Battery
Replacing the battery in your Motorola Razr can extend its lifespan and improve performance. Follow these steps to change the battery efficiently.
Preparing the Device
- Gather all necessary tools: a plastic opening tool, T5 Torx screwdriver, tweezers, suction cup, heat gun or hair dryer, and the new battery.
- Power off your Motorola Razr completely to prevent any damage or short circuits.
- Use the heat gun or hair dryer to warm the edges of the device. This loosens the adhesive, making the opening easier.
- Apply the suction cup to the screen and gently pull to create a gap between the screen and the frame. Insert the plastic opening tool into the gap.
Removing the Old Battery
- Carefully slide the opening tool along the edge of the device. This separates the screen from the body.
- Locate the screws securing the battery connector using the T5 Torx screwdriver. Remove these screws and set them aside.
- Once the screws are out, use tweezers to lift and disconnect the battery connector from the motherboard.
- Gently pry the old battery out of its compartment. Avoid using excessive force, as this might damage other components.
Installing the New Battery
- Place the new battery into the compartment. Ensure it fits snugly without forcing it.
- Connect the battery connector to the motherboard. Make sure it aligns correctly for proper contact.
- Replace the screws that secure the battery connector. This keeps everything in place.
- Press the screen back into the body, ensuring it’s fully secured. You might hear some clicks as it snaps back into place.
- Power on your device to verify that the new battery is functioning properly.
By following these steps, you’ll successfully change the battery on your Motorola Razr and enjoy an improved performance.
Tips for a Successful Battery Change
- Prepare Your Workspace: Find a clean, well-lit area to work. A clutter-free environment reduces the chance of losing small parts.
- Use the Right Tools: Double-check that you have all necessary tools, like a T5 Torx screwdriver, a plastic opening tool, and tweezers. Using the correct tools helps avoid damage.
- Power Off Your Device: Turn off your Motorola Razr to prevent any electrical issues during battery replacement. Always prioritize safety.
- Warm the Device: Use a heat gun or hair dryer to gently warm the edges of the phone. This step softens the adhesive, making it easier to remove the screen.
- Take Your Time: When prying open the device, proceed slowly and carefully. Rushing can result in cracks or damage to internal components.
- Handle Components with Care: Use tweezers for delicate parts, like connectors. Keeping a steady hand ensures you won’t accidentally break anything.
- Check Connections: Before sealing the device, make sure the new battery connects securely. A loose connection can lead to charging issues.
- Follow Reassembly Steps: When putting the phone back together, reverse the disassembly steps carefully. Ensure everything aligns properly to avoid gaps or misalignment.
- Test Before Finalizing: After reassembling, turn on your phone to check battery performance and functionality. This step confirms your successful replacement.
- Dispose of the Old Battery Properly: Take the old battery to a recycling facility. Proper disposal is crucial for environmental safety.
Common Issues and Troubleshooting
Addressing battery issues on your Motorola Razr typically involves a few common problems. Below are the most frequent issues you might encounter, along with troubleshooting tips to help resolve them.
Recommended Products
{COMPATIBLE MODELS}:This Replacement battery Compatible with Motorola RAZR V3, V3i, V3c, V3m, V3T, V3Z, V3IM, U6 PEBL, Prolife 300, Prolife 500.
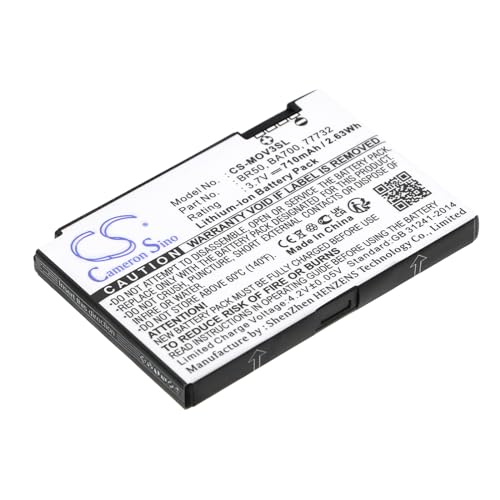
Flip P, Lifestyle 285, PEBL U6, Prolife 300, Prolife 500, Razr V3xx, Razr V3Z, V235 (710mAh) 22320, 77732, BA700, BR50, SNN5696

High capacity batteries provide ultra strong power for your devices to performance well and operate longer.
Battery Draining Quickly
- Check Background Apps: Background apps can drain your battery quickly. Navigate to your settings and review active apps. Close or uninstall unnecessary apps.
- Adjust Screen Brightness: High brightness settings consume battery. Lower your screen brightness or enable adaptive brightness.
- Update Software: Outdated software may cause battery drain. Check for any available updates in the settings menu and install them.
Phone Not Turning On
- Perform a Hard Reset: If your phone doesn’t turn on, try holding the power button for 10-15 seconds. This can resolve minor glitches.
- Charge the Device: Connect your Razr to a charger. If it doesn’t respond, wait at least 15 minutes before trying to turn it on again.
- Inspect Charging Equipment: Ensure your charger and cable are functioning. Test with another charger to rule out any issues.
Battery Swelling
- Look for Visible Damage: Inspect the battery for any signs of swelling. If you notice this issue, avoid using the device immediately.
- Replace the Battery: A swollen battery poses safety risks. Get a replacement as soon as possible, following the aforementioned battery change instructions.
- Dispose of the Old Battery Safely: Do not throw away a swollen battery. Take it to a local recycling center to dispose of it properly.
Connecting Issues after Battery Replacement
- Check Connections: Ensure all battery connectors are securely attached. A loose connection can cause the device not to function properly.
- Reseat the Battery: If the phone doesn’t turn on after replacing the battery, reseat the battery connection to ensure a solid fit.
- Test Components: After reassembly, conduct tests to verify that all components, like the screen and buttons, are functioning.
By proactively addressing these common issues, you can enhance your Motorola Razr’s performance and extend its battery life. Regular monitoring and maintenance keep problems at bay.
Conclusion
Replacing the battery on your Motorola Razr can breathe new life into your device. By following the steps outlined and using the right tools you can tackle this task with confidence. Remember to take your time and handle everything with care to avoid any mishaps.
Once you’ve successfully swapped out the old battery for a new one you’ll likely notice a significant improvement in performance. Don’t forget to dispose of the old battery responsibly to help protect the environment.
With a little patience and attention to detail your Motorola Razr will be back in action, ready to keep up with your daily needs. Enjoy your revitalized device and the freedom that comes with a fresh battery!
Frequently Asked Questions
What are common battery problems for Motorola Razr users?
Many Motorola Razr users face issues such as rapid battery drain, the phone not turning on, or battery swelling. These problems can be caused by background apps, software glitches, or the battery aging. It’s important to troubleshoot these issues promptly to avoid further complications.
How do I know if it’s time to replace my Razr battery?
If your Motorola Razr frequently loses power, requires constant recharging, or shows signs of battery swelling, it may be time to replace the battery. Pay attention to performance changes, as a failing battery can significantly impact your device’s usability.
What tools do I need to replace the Motorola Razr battery?
To replace the Motorola Razr battery, you need a plastic opening tool, T5 Torx screwdriver, tweezers, suction cup, heat gun or hair dryer, and a new battery specific to your Razr model. Having these tools will make the replacement process smoother and easier.
How do I replace the battery on my Motorola Razr?
Start by powering off your device and gathering all necessary tools. Use a heat gun or hair dryer to warm the device for loosening adhesive. Disconnect the battery, pry out the old one, and carefully install the new battery before reassembling the phone.
What should I do if my Razr won’t turn on?
If your Motorola Razr won’t turn on, try performing a hard reset. Charge the device and inspect your charging equipment for any damage. If these steps don’t work, the battery might be faulty or need replacement.
How can I protect my Motorola Razr battery life?
To extend your Motorola Razr battery life, manage background apps, reduce screen brightness, and keep your software updated. Regular monitoring and maintenance can help address issues before they escalate.
What should I do with my old battery after replacement?
After replacing the battery, dispose of your old Motorola Razr battery responsibly by taking it to a recycling facility. Proper disposal is crucial for environmental safety and prevents potential hazards associated with lithium-ion batteries.